Welcome to MomDaughts, where we empower women to take charge of their period care confidently! If you're exploring sustainable and comfortable alternatives for your menstrual cycle, period cups are an excellent choice. They are economical, eco-friendly, and offer freedom like no other. In this guide, we'll walk you through using period cups effectively so you can embrace your cycles with confidence and ease.
Understanding Period Cups
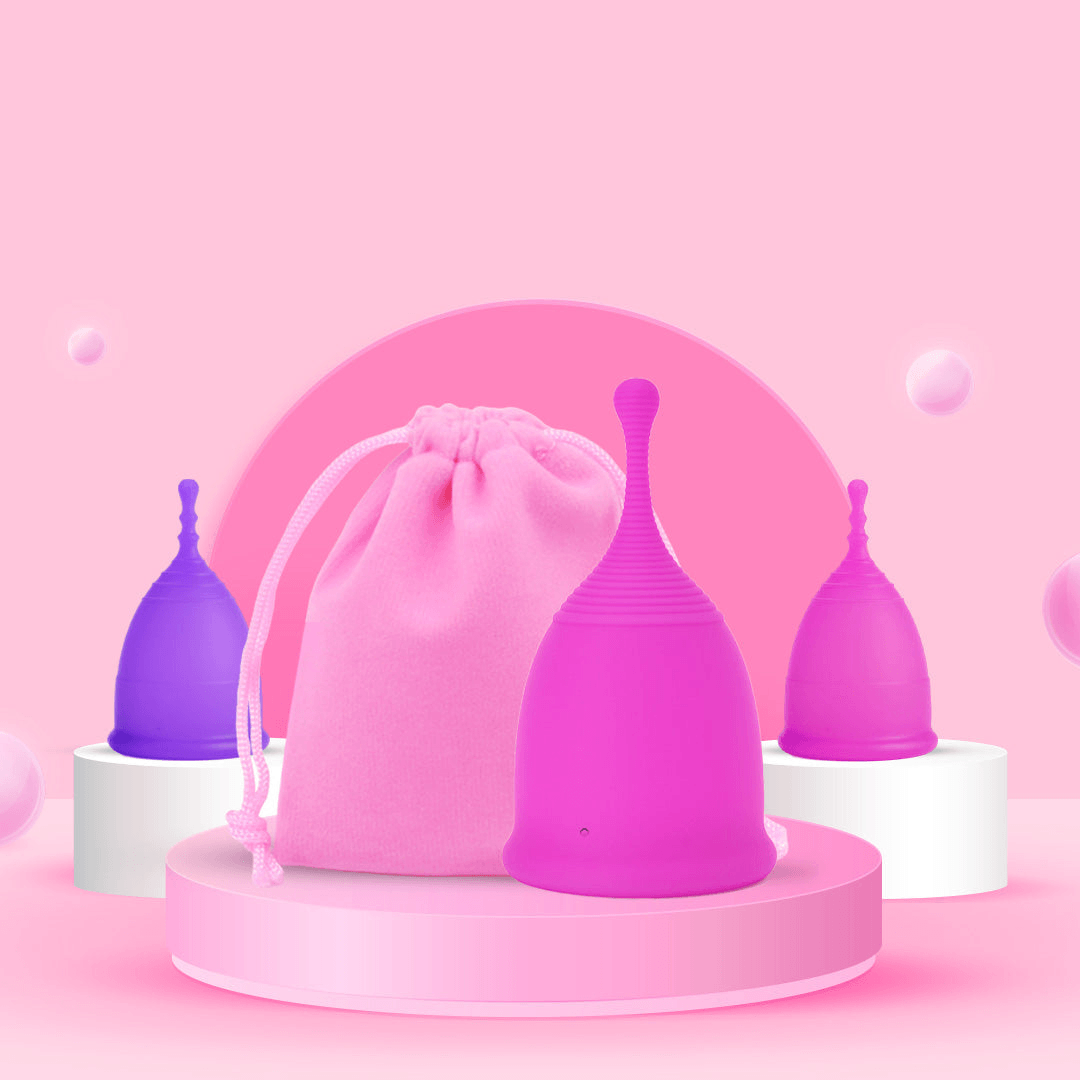
Period cups are small, flexible cups made of medical-grade silicone designed to be inserted into the vagina to collect menstrual fluid. Unlike traditional pads and tampons, period cups offer an innovative approach to period care, promoting both health and environmental benefits.
Benefits of Using Period Cups
- Eco-friendly: Reduce waste by reusing period cups for several years.
- Cost-effective: A one-time purchase lasts much longer than disposable products.
- Healthy: Made of medical-grade silicone, they reduce the risk of Toxic Shock Syndrome (TSS) compared to tampons.
- Convenient: Designed to handle a heavy flow, so you can worry less about frequent changes.
Step-by-Step Guide to Using Period Cups
Follow these steps to get started with your period cup:
Step 1: Choosing the Right Period Cup
Selecting the perfect cup is essential for comfort and efficiency. MomDaughts offers various options to suit different needs:
- Short Tailed Menstrual Cup: Ideal for those who prefer a discreet tail, providing ease in removal without feeling it throughout the day.
- Double tail Menstrual Cup: Perfect for those who appreciate a firmer grip during removal.
- Long Tailed Menstrual Cup: Offers an extended tail for those needing an extra reach for comfort.
- Collapsible Menstrual Cup With Cute Storage Case: Great for travel, this cup folds up neatly into a small, stylish case.
Feel free to explore The Menstrual Collection for other period care products that may suit your needs.
Step 2: Preparing for Insertion
- Wash Your Hands: Always start by washing your hands with soap and water to maintain hygiene.
- Sterilize the Cup: Before first-time use and between cycles, boil the cup for 5-10 minutes.
- Fold the Cup: Familiarize yourself with the different folding methods. The C-fold is popular, but find one that is comfortable for you.
Step 3: Inserting the Cup
- Relax: Find a comfortable position, whether sitting, standing, or squatting.
- Gently Insert: Keep the cup folded until it's inside, then release it to form a seal.
- Ensure Proper Placement: Make sure the rim opens fully. It should sit lower than a tampon.
Step 4: Removing and Cleaning
- Remove with Ease: Pinch the base to break the seal and gently pull it out.
- Empty and Rinse: Dispose of the fluid into the toilet, then rinse the cup with water. For public restrooms, a wipe or toilet paper suffices until you reach a sink.
Step 5: Storing Between Cycles
After cleaning and sterilizing your cup at the end of your cycle, store it in a breathable container to allow it to air out naturally.
Your Journey with MomDaughts
We at MomDaughts are here to support your journey to confident period care. Explore our full range of products and tips on MomDaughts to find the perfect solution tailored just for you. Remember, embracing a new routine like using a period cup takes time. Be patient with yourself as you adjust, and don't hesitate to reach out for support!
Happy cycling with MomDaughts!